Home > Catalogue > Browse > Sketches of the Peacock Room; (a) south wall and shutters; (b) roof and wall panelling; (c) pendant and cove; (d) fighting peacocks << >>
Composition
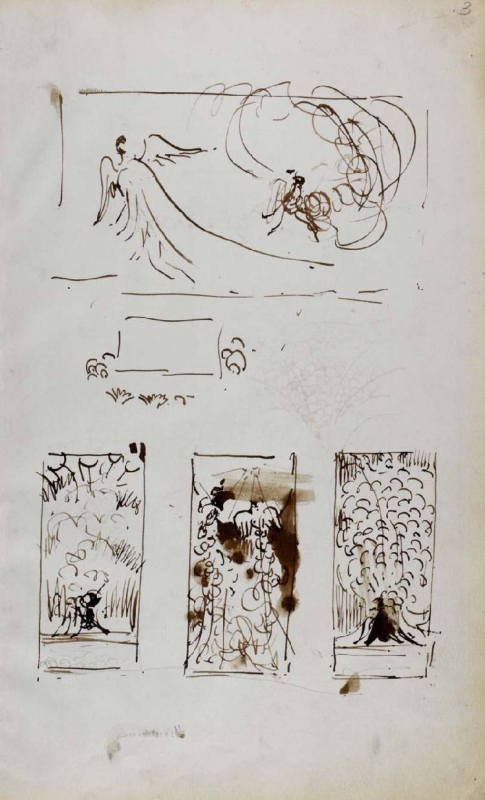
Sketches of the Peacock Room; (a) south wall and shutters, The Hunterian
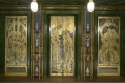
Shutters in Harmony in Blue and Gold: The Peacock Room, Freer Gallery of Art
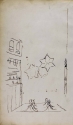
Sketches of the Peacock Room; (b) roof and wall panelling, The Hunterian
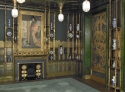
Harmony in Blue and Gold: The Peacock Room, Freer Gallery of Art
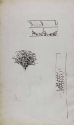
Sketches of the Peacock Room; (c) pendant and cove, The Hunterian
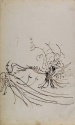
Sketches of the Peacock Room; (; (d) fighting peacocks, The Hunterian
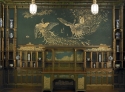
Panel of Fighting Peacocks in Harmony in Blue and Gold: The Peacock Room, Freer Gallery of Art
These drawings were studies for details in Harmony in Blue and Gold: The Peacock Room [YMSM 178].
Technique
See MacDonald 1995 (cat. rais.) [more] (cat. no. 582).
Conservation History
The sheets were removed from a press-cutting album in Glasgow University Library and transferred to the Hunterian.
Last updated: 7th December 2020 by Margaret